How to Replace Parts in Antminer E9 Pro 3.68Gh/s?
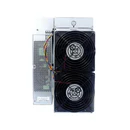
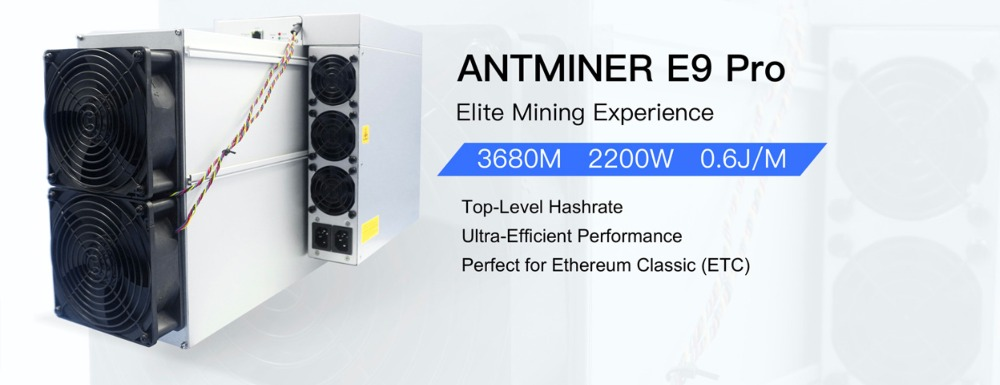
The Antminer E9 Pro 3.68Gh/s is a powerhouse in the world of Ethereum Classic (ETC) mining, offering an impressive hashrate and energy efficiency that make it a top choice for professional mining operations. However, like any high-performance hardware, it requires regular maintenance and occasional part replacements to ensure optimal performance and longevity. In this article, we’ll walk you through the process of replacing key components in the Antminer E9 Pro, providing practical insights and step-by-step guidance to help you keep your mining operation running smoothly.
Understanding the Antminer E9 Pro: A Brief Overview
Before diving into the replacement process, it’s essential to understand the core components of the Antminer E9 Pro and their roles in its operation. The miner features a sophisticated architecture designed for maximum efficiency, including:
- Hashboards: The primary components responsible for performing the computational work required for mining.
- Power Supply Unit (PSU): Converts AC power to the DC power needed by the miner.
- Cooling Fans: Four high-performance fans that maintain optimal operating temperatures.
- Control Board: Manages communication between components and the mining pool.
- Cables and Connectors: Ensure proper power and data transmission between components.
Each of these parts plays a critical role in the miner’s performance, and understanding their functions will help you identify when a replacement is necessary.
When to Replace Parts in Your Antminer E9 Pro
Regular maintenance is key to preventing unexpected downtime and maximizing the lifespan of your mining equipment. Here are some common signs that indicate a part may need replacement:
- Reduced Hashrate: A sudden drop in hashrate could signal a failing hashboard or power supply issue.
- Overheating: If the miner consistently runs hotter than usual, it may indicate a problem with the cooling fans or thermal paste.
- Unusual Noises: Grinding or rattling sounds from the fans suggest they may be wearing out.
- Power Issues: Frequent shutdowns or failure to power on could point to a faulty PSU or damaged cables.
- Error Messages: The control board may display error codes indicating specific component failures.
Step-by-Step Guide to Replacing Parts
1. Preparing for Replacement
Before starting any repair work, ensure you have the following tools and materials:

- Screwdrivers (Phillips and flathead)
- Anti-static wrist strap
- Replacement parts (e.g., fans, hashboards, PSU)
- Thermal paste (if replacing hashboards)
- Cleaning supplies (compressed air, microfiber cloth)
Always power off the miner and disconnect it from the power source before beginning any repairs. Wearing an anti-static wrist strap will prevent electrostatic discharge, which can damage sensitive components.
2. Replacing Cooling Fans
The Antminer E9 Pro is equipped with four cooling fans that are crucial for maintaining optimal temperatures. Over time, these fans may wear out and require replacement.

Steps:
- Open the miner’s casing by removing the screws on the side panels.
- Locate the faulty fan and disconnect its power cable.
- Remove the screws securing the fan to the chassis.
- Install the new fan, ensuring it’s securely fastened and properly aligned.
- Reconnect the power cable and reassemble the miner.
Pro Tip: Regularly clean the fans and vents to prevent dust buildup, which can reduce cooling efficiency.
3. Replacing Hashboards
Hashboards are the workhorses of the miner, and their failure can significantly impact performance. Replacing a hashboard requires careful handling to avoid damage.
Steps:
- Open the miner and locate the hashboard you wish to replace.
- Disconnect all cables connected to the hashboard.
- Remove the screws securing the hashboard to the chassis.
- Carefully slide out the old hashboard and insert the new one.
- Reconnect the cables and secure the hashboard with screws.
- Apply a thin layer of thermal paste to the heat sinks if necessary.
Pro Tip: Always use genuine Bitmain replacement parts to ensure compatibility and reliability.
4. Replacing the Power Supply Unit (PSU)
A failing PSU can cause power instability or complete shutdowns. Replacing it is straightforward but requires attention to detail.
Steps:
- Disconnect the miner from the power source.
- Open the miner and locate the PSU.
- Disconnect all power cables connected to the PSU.
- Remove the screws securing the PSU to the chassis.
- Install the new PSU and reconnect the power cables.
- Secure the PSU with screws and reassemble the miner.
Pro Tip: Test the new PSU with a multimeter to ensure it’s delivering the correct voltage before reconnecting it to the miner.
5. Replacing the Control Board
The control board manages the miner’s operations and communication with the mining pool. While it’s less prone to failure, replacement may be necessary in some cases.
Steps:
- Open the miner and locate the control board.
- Disconnect all cables connected to the control board.
- Remove the screws securing the control board to the chassis.
- Install the new control board and reconnect the cables.
- Secure the control board with screws and reassemble the miner.
Pro Tip: After replacing the control board, reconfigure the miner’s settings to match your mining pool and preferences.
Maintenance Tips for Long-Term Performance
To minimize the need for part replacements and extend the lifespan of your Antminer E9 Pro, follow these maintenance best practices:
- Regular Cleaning: Dust and debris can clog fans and vents, leading to overheating. Clean the miner every 2-3 months using compressed air and a microfiber cloth.
- Monitor Temperatures: Use monitoring software to track the miner’s temperature and address any anomalies promptly.
- Inspect Cables: Check for frayed or damaged cables and replace them as needed to prevent power issues.
- Update Firmware: Keep the miner’s firmware up to date to benefit from performance improvements and bug fixes.
- Optimize Environment: Ensure the miner operates in a well-ventilated, temperature-controlled environment to reduce stress on components.
Why Choose Genuine Replacement Parts?
Using genuine Bitmain replacement parts ensures compatibility, reliability, and optimal performance. Counterfeit or incompatible parts may cause further damage to your miner and void the warranty. Additionally, genuine parts are backed by Bitmain’s quality assurance and support, giving you peace of mind.
Conclusion
The Antminer E9 Pro 3.68Gh/s is a robust and efficient mining solution, but like any piece of hardware, it requires regular maintenance and occasional part replacements to perform at its best. By following the steps outlined in this guide, you can confidently replace key components and keep your miner running smoothly. Remember to prioritize genuine parts, adhere to safety precautions, and implement a proactive maintenance routine to maximize your investment and achieve long-term mining success.
Whether you’re a seasoned mining operator or a dedicated enthusiast, understanding how to maintain and repair your Antminer E9 Pro is an essential skill that will pay dividends in the form of consistent performance and reduced downtime. Happy mining!