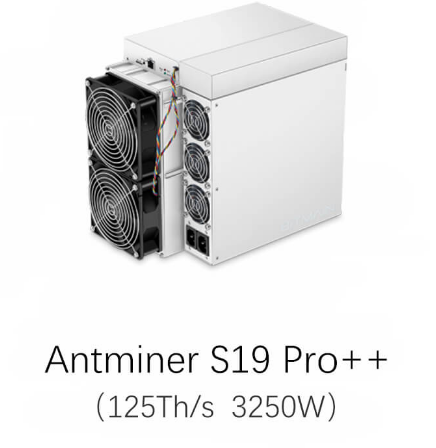
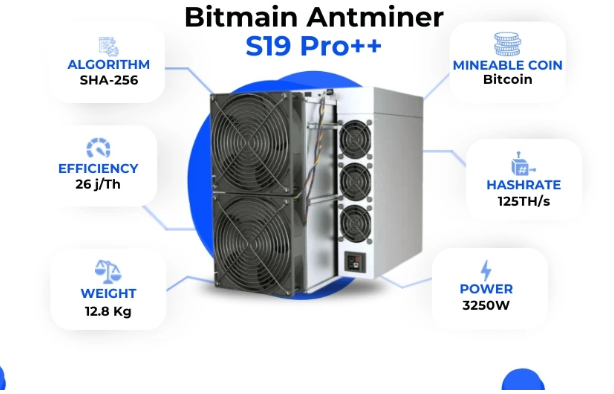
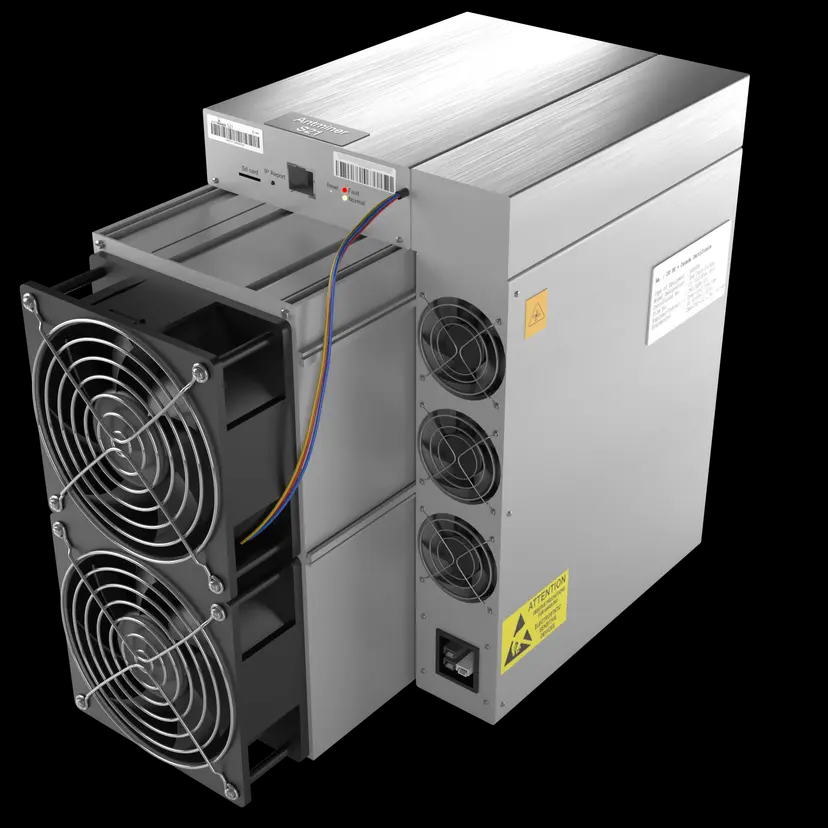
As a seasoned professional in the cryptocurrency industry, I’ve had the privilege of working extensively with the Antminer S19Pro++, Bitmain’s flagship Bitcoin mining ASIC. This remarkable piece of hardware has consistently delivered exceptional performance and efficiency, cementing its status as a premier choice for large-scale mining operations.
One of the key aspects that sets the S19Pro++ apart is its robust and modular design, which facilitates easy maintenance and component replacement. In this article, I’ll be guiding you through the step-by-step process of replacing the power supply unit (PSU) in your Antminer S19Pro++, ensuring your mining operation continues to run at peak efficiency.
The Antminer S19Pro++ is renowned for its industry-leading power efficiency of 26J/TH, which translates to significant cost savings and improved profitability for mining operations. However, as with any complex piece of equipment, the PSU may eventually require replacement due to wear and tear or the need to upgrade to a more efficient model.
By following the instructions outlined in this article, you’ll be able to confidently and safely replace the PSU in your S19Pro++, minimizing downtime and maintaining the miner’s exceptional performance. Let’s dive in and explore the process step-by-step.
Preparing for the Power Supply Replacement

Before we begin, it’s important to ensure that you have all the necessary tools and components on hand. You’ll need the following:
1. Replacement power supply unit (make sure it’s a genuine Antminer PSU compatible with the S19Pro++).
2. Antistatic mat or work surface to prevent static discharge during the replacement process.
3. Precision screwdrivers (Philips and flathead) to remove the casing and access the internal components.
4. Compressed air or a soft brush to clean the miner’s interior before reassembly.
Safety Precautions
Safety should always be the top priority when working with any electrical equipment. Before proceeding, make sure to:
1. Disconnect the Antminer S19Pro++ from the power source and allow it to cool down completely.
2. Wear anti-static gloves or ensure you’re properly grounded to avoid static discharge, which can damage sensitive components.
3. Carefully read and follow all instructions to ensure a successful and safe power supply replacement.
Step 1: Removing the Antminer S19Pro++ Casing
1. Locate the four screws on the rear panel of the Antminer S19Pro++. These screws secure the casing to the miner’s body.

2. Using the appropriate screwdriver, carefully remove the four screws and set them aside.
3. Gently lift the rear panel off the miner, taking care not to damage any internal components.
4. With the rear panel removed, you should now have access to the power supply unit.
Step 2: Disconnecting the Power Supply Unit
1. Identify the cables connecting the power supply unit to the Antminer’s main board. These are typically the 24-pin ATX power connector and the 8-pin PCIe power connector.
2. Carefully disconnect these cables, taking note of their respective positions to ensure proper reconnection later.
3. If there are any additional cables or wires connected to the power supply, be sure to disconnect them as well.
4. Once all the connections have been severed, you can proceed to remove the power supply unit itself.
Step 3: Removing the Power Supply Unit
1. Locate the screws that secure the power supply unit to the Antminer’s chassis. These are typically found on the rear panel of the miner.
2. Using the appropriate screwdriver, remove the screws and set them aside.
3. Gently lift the power supply unit out of the Antminer, being careful not to strain or damage any of the remaining cables or components.
Step 4: Installing the Replacement Power Supply Unit

1. Take the replacement power supply unit and align it with the mounting points in the Antminer’s chassis.
2. Secure the power supply unit in place using the screws you removed earlier.

3. Reconnect the 24-pin ATX power connector and the 8-pin PCIe power connector to their respective ports on the Antminer’s main board.
4. If there were any additional cables or wires connected to the previous power supply, ensure they are properly reconnected to the new unit.
Step 5: Reassembling the Antminer S19Pro++
1. Before reassembling the Antminer, take a moment to carefully clean the interior using compressed air or a soft brush. This will help maintain optimal airflow and cooling performance.
2. Carefully place the rear panel back onto the Antminer, ensuring that all components are properly aligned and seated.
3. Secure the rear panel in place by replacing the four screws you removed earlier.
Step 6: Powering On and Verifying Operation
1. Reconnect the Antminer S19Pro++ to the power source.
2. Power on the miner and observe its startup sequence. Ensure that all indicator lights are functioning correctly and that the miner is recognized by your mining management system.
3. Monitor the miner’s performance and hash rate to confirm that it’s operating at the expected levels.
Congratulations! You have successfully replaced the power supply unit in your Antminer S19Pro++. By following these steps, you’ve ensured that your mining operation can continue to run at peak efficiency, leveraging the exceptional performance and reliability of this industry-leading ASIC miner.
Remember, the Antminer S19Pro++ is engineered for industrial-scale mining operations, with a focus on long-term sustainability and ROI optimization. Its advanced thermal management system, flexible performance profiles, and global logistics solutions make it an ideal choice for serious miners looking to maximize their returns in the competitive cryptocurrency market.
If you encounter any issues or require further assistance, don’t hesitate to reach out to Bitmain’s comprehensive and reliable support network. Their team of experts is dedicated to ensuring the continued success of your mining operation.