Antminer E9 Pro Installation Guide for New Users
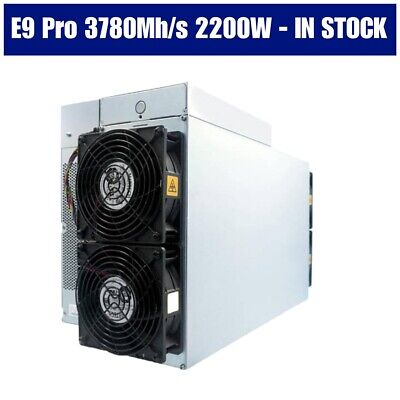
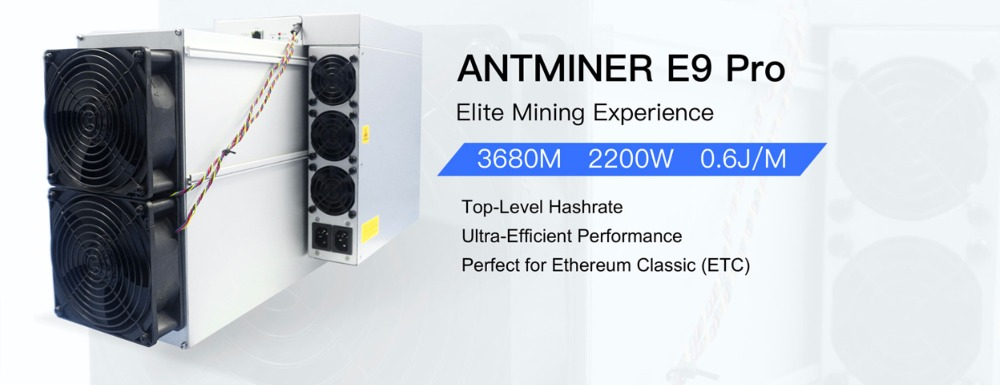
The world of cryptocurrency mining is evolving rapidly, and staying ahead requires not only the right equipment but also the knowledge to deploy it effectively. The Antminer E9 Pro is a game-changer in Ethereum Classic (ETC) mining, boasting an impressive 3.68 Gh/s hashrate and cutting-edge engineering. For new users, setting up this powerful miner might seem daunting, but with the right guidance, you’ll be up and running in no time.
This installation guide walks you through the process step-by-step, ensuring a smooth setup while highlighting the key advantages of the Antminer E9 Pro. Whether you’re a seasoned mining operator or a newcomer, this guide will help you maximize your mining potential.
Why Choose the Antminer E9 Pro?
Before diving into the installation process, it’s essential to understand what makes the Antminer E9 Pro a standout choice for ETC mining:
- Unmatched Performance: With a 3.68 Gh/s hashrate, the E9 Pro is optimized for Ethereum Classic, delivering exceptional mining efficiency.
- Energy Efficiency: Its power consumption ratio of 0.6 ± 10% ensures cost-effective operations, even at a standard power draw of 2200W.
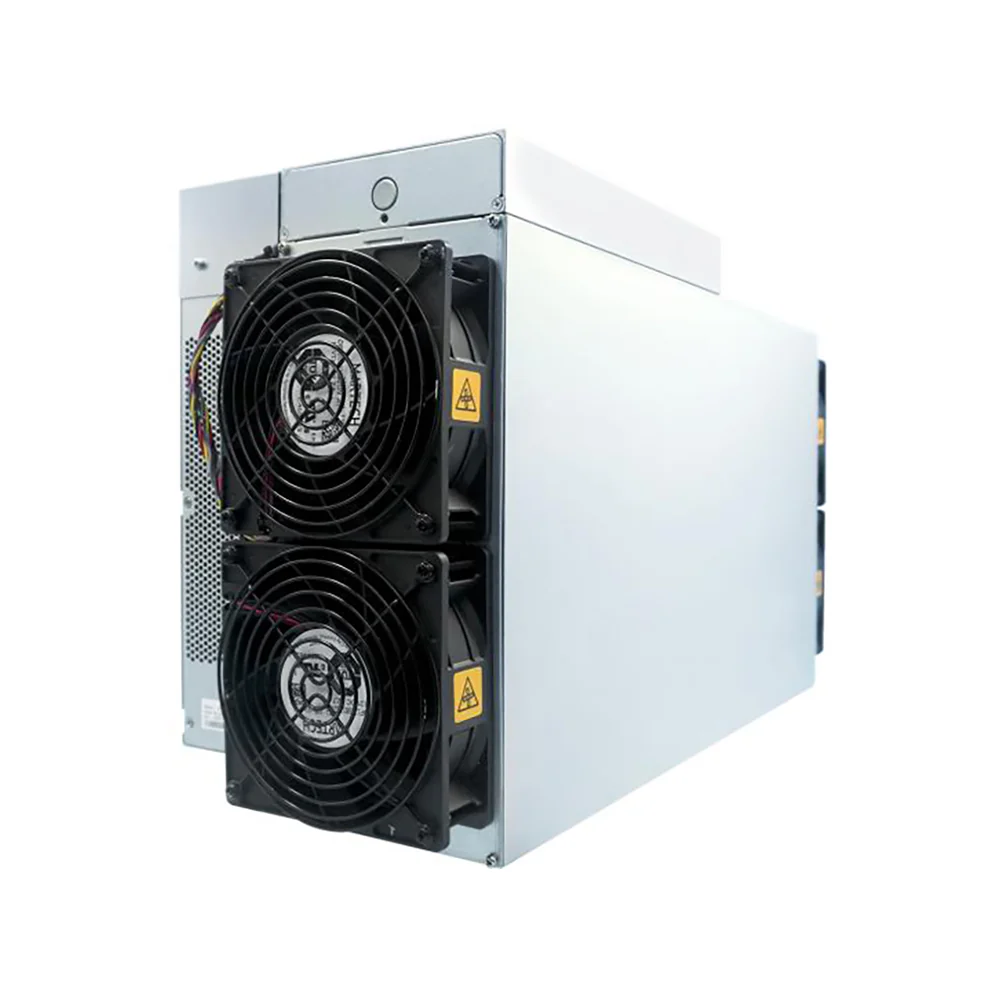
- Advanced Cooling System: Equipped with four high-performance fans, the E9 Pro maintains optimal operating temperatures, ensuring longevity and consistent performance.
- Durable Design: Built to last, the miner features a robust chassis and modular components, making it easy to service and upgrade.
- User-Friendly Interface: The intuitive setup and monitoring tools make it accessible for both beginners and professionals.
These features make the Antminer E9 Pro a reliable and efficient mining solution, ideal for maximizing your ETC rewards.
Step 1: Unboxing and Inspection
Your journey begins with unboxing the Antminer E9 Pro. Carefully unpack the unit and inspect it for any visible damage during transit. The package should include:
- The Antminer E9 Pro unit
- A power cable
- An Ethernet cable
- User manual and documentation
Ensure all components are present and in good condition. If anything is missing or damaged, contact your supplier immediately.
Step 2: Setting Up Your Mining Environment
Proper placement of your Antminer E9 Pro is crucial for optimal performance. Here’s what to consider:

- Ventilation: The E9 Pro generates significant heat, so ensure the mining area is well-ventilated. Avoid enclosed spaces without airflow.
- Temperature: The miner operates best in temperatures between 0°C and 40°C. Avoid extreme heat or cold environments.
- Noise Management: While the E9 Pro is designed to minimize noise (at 75dB), it’s advisable to place it in a location where the sound won’t be disruptive.
- Power Supply: Ensure you have access to a stable power source capable of handling the miner’s 2200W power draw.
Step 3: Connecting the Hardware
- Power Connection: Plug the power cable into the E9 Pro’s power input port, then connect the other end to a reliable power outlet. Double-check that the voltage matches the miner’s requirements.
- Network Connection: Use the provided Ethernet cable to connect the miner to your router or switch. A stable internet connection is essential for seamless mining operations.
- Cooling System Check: Verify that all four cooling fans are functioning correctly. These fans are critical for maintaining optimal operating temperatures.
Step 4: Configuring the Antminer E9 Pro
Once the hardware is set up, it’s time to configure the miner:
- Access the Miner’s Interface: Open a web browser and enter the miner’s IP address (found in your router’s connected devices list or via a network scanning tool).
- Log In: Use the default credentials (usually “root” for both username and password) to access the dashboard.
- Configure Mining Pool: Navigate to the “Miner Configuration” section and enter the details of your chosen mining pool, including the pool’s URL, port number, and your wallet address.
- Save Settings: Once configured, save the settings and restart the miner to apply the changes.
Step 5: Monitoring and Optimization
After the initial setup, regularly monitor your Antminer E9 Pro to ensure it’s performing at its best:
- Dashboard Metrics: Use the miner’s interface to track hashrate, temperature, and fan speed. These metrics provide valuable insights into the miner’s health and performance.
- Temperature Management: Ensure the operating temperature stays within the recommended range. If the miner overheats, consider improving ventilation or adding external cooling solutions.
- Regular Maintenance: Clean the fans and vents periodically to prevent dust buildup, which can affect cooling efficiency.
Product Advantages in Real-World Applications
The Antminer E9 Pro isn’t just a powerful miner; it’s designed to deliver tangible benefits in real-world mining operations:
- Premium Brand Assurance: Backed by Bitmain’s industry-leading reputation, the E9 Pro ensures reliability and performance, supported by robust quality control standards.
- Strategic Mining Capabilities: Optimized for ETC, the E9 Pro targets a cryptocurrency with significant growth potential, offering miners a sustainable and profitable opportunity.
- Comprehensive Warranty Protection: With a 180-day warranty and professional after-sales support, you can mine with confidence, knowing your investment is protected.
- Superior Serviceability: Modular components and readily available replacement parts make maintenance straightforward, minimizing downtime.
- Flexible Deployment Options: Whether you’re setting up a home mining operation or a large-scale farm, the E9 Pro’s compact design and flexible shipping options make it easy to deploy anywhere.
Tips for Maximizing Your Mining Efficiency
- Join a Reliable Pool: Choose a mining pool with low fees and high reliability to maximize your rewards.
- Monitor Electricity Costs: Since the E9 Pro consumes 2200W, ensure your electricity rates are favorable to maintain profitability.
- Stay Updated: Keep an eye on ETC’s market trends and adjust your mining strategy accordingly.
- Scale Gradually: Start with one unit and expand your operation as you gain experience and confidence.
Conclusion
The Antminer E9 Pro is a formidable tool for Ethereum Classic mining, combining cutting-edge technology with practical functionality. By following this installation guide, you’ll be well-equipped to set up, configure, and optimize your mining operations.
Whether you’re aiming to build a small-scale mining setup or expand an existing operation, the E9 Pro’s performance, efficiency, and reliability make it a worthwhile investment. Embrace the future of cryptocurrency mining with the Antminer E9 Pro and start unlocking your mining potential today!