How to Assemble an Antminer E9 Pro Mining Rig?
Cryptocurrency mining has become a cornerstone of the blockchain ecosystem, and having the right equipment is essential for maximizing profitability. Among the latest innovations in mining hardware is the Antminer E9 Pro, a powerhouse designed specifically for Ethereum Classic (ETC) mining. With an impressive hashrate of 3.68 Gh/s and advanced engineering, the E9 Pro is a top-tier choice for both professional mining operations and dedicated enthusiasts. However, to fully leverage its capabilities, proper assembly and setup are crucial. This guide will walk you through the process of assembling and configuring your Antminer E9 Pro mining rig, ensuring optimal performance from day one.
1. Introduction to the Antminer E9 Pro
Before diving into the assembly process, it’s important to understand what makes the Antminer E9 Pro a standout mining solution. Developed by Bitmain, a leader in cryptocurrency mining technology, the E9 Pro is optimized for EtHash algorithms, making it ideal for mining Ethereum Classic. Its key features include:
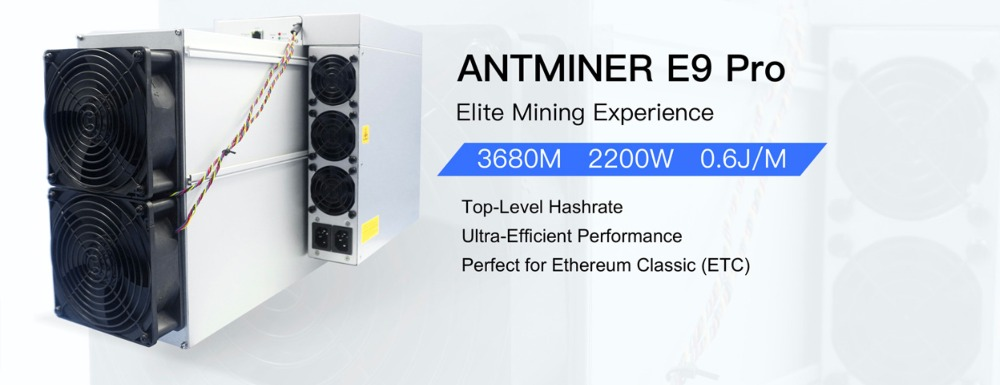
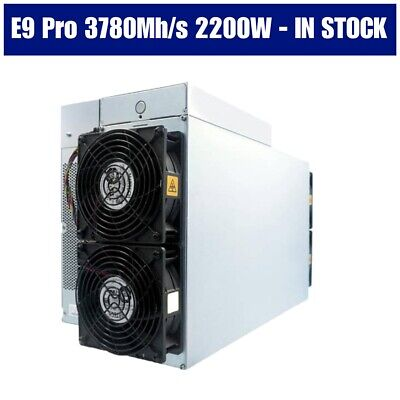
- High Hashrate: At 3.68 Gh/s, the E9 Pro delivers exceptional mining performance, significantly outpacing many competitors in the ETC mining space.
- Energy Efficiency: With a power efficiency ratio of 0.6 ± 10%, the miner consumes approximately 2200W, striking a balance between performance and energy costs.
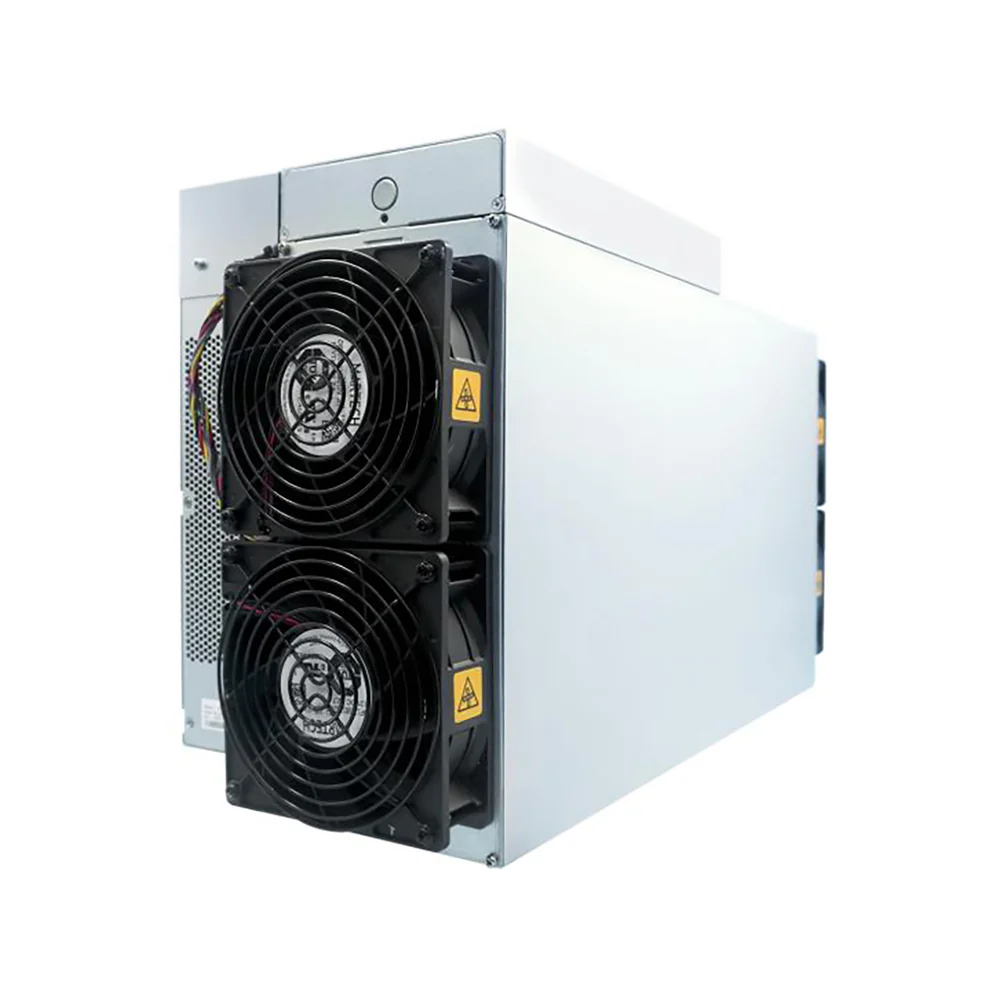
- Advanced Cooling System: Equipped with four high-performance fans, the E9 Pro maintains optimal operating temperatures between 0°C and 40°C, ensuring reliable performance even during extended mining sessions.
- Durable Design: Built to withstand harsh conditions, the miner boasts a robust form factor with dimensions of 550 x 195 x 310mm and a net weight of 20.2kg.
Understanding these features will help you appreciate the design considerations and operational benefits as you assemble and configure your mining rig.
2. Preparing for Assembly
Gather Your Tools and Components
To assemble your Antminer E9 Pro, ensure you have the following items ready:
- The Antminer E9 Pro unit
- Power supply unit (PSU) compatible with 2200W consumption
- Ethernet cable for network connectivity
- A stable internet connection
- A computer or mobile device for configuration
- Screwdrivers and other basic tools (if required for mounting or setup)
Choose an Optimal Location
The E9 Pro generates significant heat and noise, so it’s essential to place it in a well-ventilated area with sufficient airflow. Consider using a dedicated mining room or ventilated enclosure to manage heat dissipation and reduce noise levels (75dB). Ensure the location is free from dust and moisture, as these can affect the miner’s performance and longevity.
3. Step-by-Step Assembly Guide
Step 1: Unbox and Inspect the Miner
Carefully unbox the Antminer E9 Pro and inspect all components for any signs of damage during transit. The package should include the miner unit, power cables, and user manual. If anything is missing or damaged, contact your supplier immediately.
Step 2: Connect the Power Supply
The E9 Pro requires a robust PSU capable of handling its 2200W power consumption. Follow these steps:
- Identify the power input ports on the miner.
- Connect the PSU cables to the miner, ensuring secure connections.
- Plug the PSU into a reliable power source. Use a surge protector to safeguard against voltage fluctuations.
Pro Tip: Double-check the voltage requirements of your PSU to ensure compatibility with your local power grid.
Step 3: Establish Network Connectivity
Connect the miner to your network using an Ethernet cable. This step is crucial for accessing the miner’s interface and configuring its settings. Ensure your router or switch has an available port and is configured to assign an IP address to the miner.
Step 4: Power On the Miner
Once all connections are secure, power on the Antminer E9 Pro. The miner will initiate its startup sequence, and the cooling fans should begin spinning. Listen for any unusual noises, which could indicate installation issues.
4. Configuring the Antminer E9 Pro
Access the Miner’s Interface
To configure the miner, you’ll need to access its web-based interface. Follow these steps:
- Use your computer or mobile device to connect to the same network as the miner.
- Locate the miner’s IP address using your router’s admin panel or a network scanning tool.
- Enter the IP address into your web browser to access the interface.
Set Up Mining Parameters
Once logged in, configure the following settings:
- Pool Configuration: Enter the details of your preferred mining pool, including the URL, port, and worker credentials.
- Wallet Address: Input your ETC wallet address to ensure mined coins are deposited into your account.
- Fan Speed and Temperature Settings: Adjust these parameters to optimize cooling and noise levels based on your environment.
Monitor Performance
The E9 Pro’s interface provides real-time data on hashrate, temperature, and power consumption. Regularly monitor these metrics to ensure the miner is operating efficiently. Use the built-in diagnostics tools to troubleshoot any issues that may arise.
5. Optimizing Your Mining Operation
Maximize Hashrate
To achieve the full 3.68 Gh/s hashrate, ensure the miner is running at optimal conditions. Maintain ambient temperatures within the recommended range (0°C to 40°C) and avoid overclocking, which can lead to instability.
Reduce Downtime
Regular maintenance is key to minimizing downtime. Clean the miner’s cooling fans and vents periodically to prevent dust buildup, which can impair performance. Keep spare components on hand, such as fans and cables, to address potential failures quickly.
Manage Energy Costs
Given the E9 Pro’s power consumption (2200W), consider strategies to reduce energy costs, such as:
- Using renewable energy sources like solar panels.
- Taking advantage of off-peak electricity rates.
- Deploying the miner in regions with lower energy costs.
6. Troubleshooting Common Issues
Overheating
If the miner exceeds the recommended temperature range, check the cooling fans for obstructions or malfunctions. Ensure the miner is placed in a well-ventilated area.
Low Hashrate
A drop in hashrate could be caused by network issues, pool-side problems, or hardware malfunctions. Verify your internet connection, pool settings, and miner components to identify the root cause.
Noise Levels
If the miner’s noise (75dB) is a concern, consider installing soundproofing materials or relocating the miner to a less sensitive area.
7. Conclusion
The Antminer E9 Pro is a cutting-edge mining solution that combines high performance, energy efficiency, and durability. By following this guide, you can assemble and configure your mining rig with confidence, ensuring it operates at peak efficiency. Whether you’re a seasoned miner or new to the industry, the E9 Pro offers a reliable and profitable path to cryptocurrency mining.
With proper setup, maintenance, and optimization, your Antminer E9 Pro will serve as a valuable asset in your mining operation, delivering consistent returns and long-term value. Happy mining!