How to Assemble an Antminer E9 Pro Mining Rig?
Cryptocurrency mining has evolved significantly over the years, with advancements in hardware and software pushing the boundaries of efficiency and profitability. For those looking to mine Ethereum Classic (ETC), the Antminer E9 Pro stands out as a top-tier solution, offering a robust 3.68 Gh/s hashrate and cutting-edge engineering. However, to fully leverage its capabilities, proper assembly and setup are crucial. In this guide, we’ll walk you through the process of assembling an Antminer E9 Pro mining rig, highlighting its features and advantages along the way.
Understanding the Antminer E9 Pro
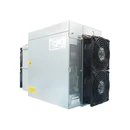
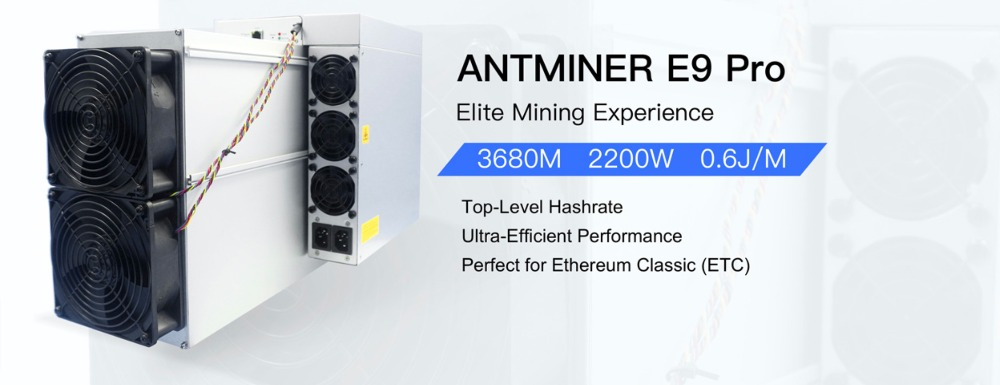
Before diving into the assembly process, it’s essential to understand what makes the Antminer E9 Pro a standout choice for ETC mining. Designed by Bitmain, a leader in cryptocurrency mining hardware, this miner is optimized for the EtHash algorithm, making it ideal for Ethereum Classic mining operations. Here’s a quick overview of its key specifications:
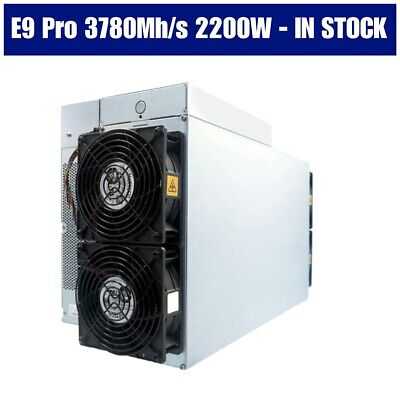
- Hashrate: 3.68 Gh/s
- Power Consumption: Approximately 2200W
- Efficiency Ratio: 0.6 ± 10%
- Cooling System: Four high-performance fans
- Noise Level: 75dB
- Dimensions: 550 x 195 x 310mm
- Weight: 20.2kg
The E9 Pro’s combination of performance, efficiency, and durability makes it a valuable asset for both large-scale mining operations and individual enthusiasts. Now, let’s move on to the assembly process.
Step 1: Unboxing and Initial Inspection
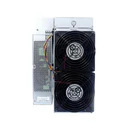
The first step in assembling your Antminer E9 Pro is to unbox and inspect the components. Ensure that the package includes the following items:
- Antminer E9 Pro Unit
- Power Supply Unit (PSU)
- Power Cables
- Ethernet Cable
- User Manual
Check for any visible damage during shipping. If everything looks good, proceed to the next step.
Step 2: Setting Up the Power Supply
The Antminer E9 Pro requires a reliable power source to operate efficiently. Here’s how to set up the power supply:
- Choose the Right PSU: The E9 Pro’s power consumption is approximately 2200W, so ensure your PSU can handle this load. Bitmain recommends using a compatible PSU for optimal performance.
- Connect the Power Cables: Attach the power cables from the PSU to the Antminer. Ensure all connections are secure to avoid power interruptions.
- Ground the System: Proper grounding is essential to prevent electrical hazards. Make sure your mining setup is grounded according to local electrical codes.
Step 3: Connecting to the Network
The Antminer E9 Pro relies on a stable internet connection to function. Follow these steps to connect it to your network:
- Use an Ethernet Cable: Connect one end of the Ethernet cable to the miner and the other to your router or network switch.
- Assign a Static IP Address: To simplify management, assign a static IP address to your miner through your router’s settings.
- Check Connectivity: Ensure the miner is properly connected to the internet by accessing its web interface (more on this later).
Step 4: Configuring the Miner
Once the hardware is set up, it’s time to configure the Antminer E9 Pro:
- Access the Web Interface: Open a web browser and enter the miner’s IP address. This will take you to the login page.
- Log In: Use the default credentials (usually “root” for both username and password) to access the dashboard.
- Configure Mining Pool Settings: Enter the details of your chosen mining pool, including the pool address, port, and worker credentials.
- Save and Apply Changes: Once configured, save the settings and restart the miner to apply them.
Step 5: Monitoring and Maintenance
After assembly and configuration, your Antminer E9 Pro should be up and running. However, regular monitoring and maintenance are essential to ensure optimal performance:
- Monitor Performance: Use the miner’s web interface to track hashrate, temperature, and power consumption.
- Clean the Miner: Dust buildup can affect cooling efficiency. Clean the miner regularly using compressed air.
- Update Firmware: Keep the miner’s firmware up to date to benefit from performance improvements and bug fixes.
Advantages of the Antminer E9 Pro
Throughout the assembly process, the Antminer E9 Pro demonstrates several advantages that make it a top choice for ETC mining:
- Premium Brand Assurance: Backed by Bitmain’s reputation, the E9 Pro offers enterprise-grade reliability and performance.
- Strategic Mining Capabilities: Optimized for ETC mining, it provides substantial long-term value potential.
- Superior Serviceability: Modular components and readily available replacement parts simplify maintenance.
- Advanced Thermal Engineering: The four-fan cooling system ensures optimal operating temperatures.
- Flexible Deployment Options: Customizable logistics support allows for global deployment.
- Sustainability: Its durable design and efficient performance make it a sustainable investment.
Final Thoughts
Assembling an Antminer E9 Pro mining rig is a straightforward process, especially when you understand its features and advantages. From its impressive hashrate to its robust cooling system, the E9 Pro is designed to deliver exceptional performance for Ethereum Classic mining. By following this guide, you’ll be well on your way to setting up a reliable and efficient mining operation.
Whether you’re an experienced miner or just starting, the Antminer E9 Pro is a powerful tool that can help you maximize your mining potential. Happy mining!