Title: Comprehensive Guide to Assembling the Antminer S21+ Hydro Bitcoin Miner: A Professional Setup Walkthrough
Introduction:
Bitcoin mining has evolved dramatically in recent years, and the Antminer S21+ Hydro represents the cutting edge of mining technology. As someone who has worked extensively with high-performance mining equipment, I’m excited to share a detailed, step-by-step guide to assembling this remarkable machine. The S21+ Hydro is not just another miner – it’s a sophisticated piece of technology that demands careful and precise setup.
Pre-Assembly Preparation:
Before diving into the assembly process, let’s review the critical components and preparation steps:
Essential Tools and Materials:
– Phillips head screwdriver
– Anti-static wrist strap
– Clean, well-lit workspace
– Soft, non-conductive surface
– Protective gloves
– Cable ties
– Network cable
– Power cables
Safety and Workspace Considerations:
1. Ensure a stable, clean environment with adequate ventilation
2. Work in an area with consistent temperature between 10°C and 45°C
3. Have a stable power source with proper voltage specifications
4. Prepare a dedicated space that can accommodate the 570 x 316 x 430mm unit
Detailed Assembly Process:
Step 1: Unboxing and Initial Inspection
When you first receive the Antminer S21+ Hydro, carefully unpack the components:
– Main mining unit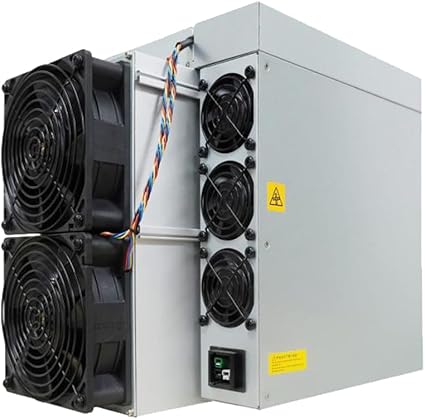
– Hydro cooling system
– Power cables
– Network cable
– Documentation
Conduct a thorough visual inspection to ensure no components are damaged during shipping. Check for:
– Integrity of the housing
– No visible cracks or dents
– All accessories are present
– No loose components inside the packaging
Pro Tip: Document the unboxing process with photos in case you need to reference anything during warranty claims.
Step 2: Prepare the Cooling System
The S21+ Hydro’s innovative hydro cooling system is its standout feature:
1. Inspect the liquid cooling components
2. Ensure all connections are secure
3. Check coolant levels and quality
4. Verify no leaks or damage to cooling tubes
Critical Cooling System Considerations:
– Operating temperature range: 10°C to 45°C
– Noise level: Approximately 50dB
– Humidity tolerance: 10-90% non-condensing
Step 3: Mounting the Primary Unit
1. Place the base unit on a stable, level surface
2. Ensure adequate clearance around all sides for ventilation
3. Use anti-vibration pads if available
4. Align the unit precisely to prevent operational stress
Placement Recommendations:
– Avoid carpeted or uneven surfaces
– Maintain minimum 20cm clearance on all sides
– Choose a location with consistent ambient temperature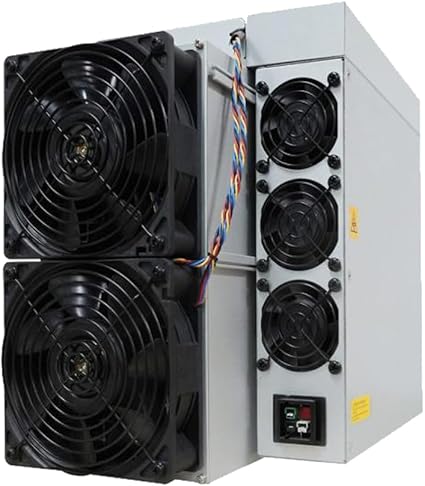
– Consider noise levels (50dB) for residential or shared spaces
Step 4: Connecting the Hydro Cooling System
1. Carefully align the hydro cooling module
2. Secure mounting points using provided hardware
3. Connect cooling tubes to designated ports
4. Ensure tight, leak-free connections
Technical Connection Details:
– Use provided sealing washers
– Apply gentle, even pressure during connection
– Double-check alignment before final tightening
Step 5: Power and Network Connections
Power Connectivity:
1. Identify the main power input
2. Use provided high-quality power cables
3. Ensure proper voltage matching (check specifications)
4. Use surge protection if possible
Network Setup:
1. Connect Ethernet cable to designated port
2. Verify stable network connection
3. Prepare network configuration details
4. Have router/network settings ready
Power Specifications:
– Input: 4785W
– Voltage: Confirm specific regional requirements
– Frequency: 50-60 Hz
Step 6: Initial Configuration
1. Power on the unit
2. Access configuration interface
3. Set mining pool parameters
4. Configure wallet address
5. Verify initial system diagnostics
Configuration Checklist:
– Mining pool URL
– Worker name
– Wallet address
– Network settings
– Cooling system parameters
Troubleshooting Common Setup Issues:
– Check all cable connections
– Verify power supply stability
– Ensure proper network configuration
– Monitor initial temperature readings
– Listen for any unusual operational sounds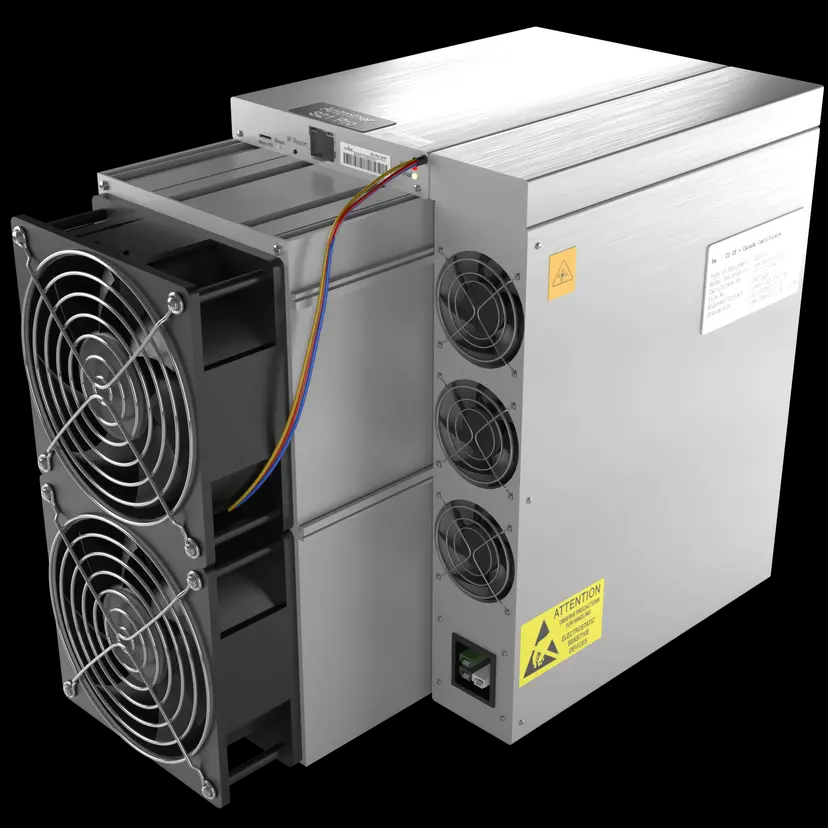
Performance Expectations:
– Hashrate: 319 TH/s
– Algorithm: SHA-256
– Power Efficiency: Optimized for competitive mining
Maintenance and Long-Term Care:
1. Regular thermal system checks
2. Clean air intake areas
3. Monitor coolant levels
4. Periodic firmware updates
5. Professional servicing annually
Warranty and Support:
– 365-day manufacturer warranty
– Professional technical support
– Global service network
– Comprehensive spare parts availability
Conclusion:
The Antminer S21+ Hydro represents more than just a mining device – it’s a sophisticated investment in cryptocurrency infrastructure. Proper assembly and configuration are crucial to maximizing its potential. By following this comprehensive guide, miners can ensure optimal performance, longevity, and return on investment.
Final Recommendations:
– Take your time during setup
– Follow manufacturer guidelines
– Invest in proper environmental conditions
– Monitor performance continuously
– Stay updated on mining technology trends
The future of Bitcoin mining is here, and the S21+ Hydro is leading the way with its remarkable blend of performance, efficiency, and innovative design.
|
Please feel free to contact me to assist you in resolving your issues: E-mail: Minerfixessales@gmail.com WhatsApp/WeChat:+86 15928044684
The services we offer include:
a.New and Used Miners b.Miner Accessories c.Miner Repair Courses d.Global Repair Stations e.Overclocking and Underclocking Services |

|