How to Replace Parts in Antminer E9 Pro 3.68Gh/s?
The Antminer E9 Pro 3.68Gh/s is a powerhouse in the world of Ethereum Classic (ETC) mining, offering an impressive hashrate of 3.68 Gh/s and exceptional energy efficiency. However, like any high-performance mining equipment, it requires regular maintenance and occasional part replacements to ensure optimal performance. In this article, we’ll guide you through the process of replacing key components in the Antminer E9 Pro, providing practical insights and step-by-step instructions to help you keep your mining operation running smoothly.
Understanding the Antminer E9 Pro: A Brief Overview
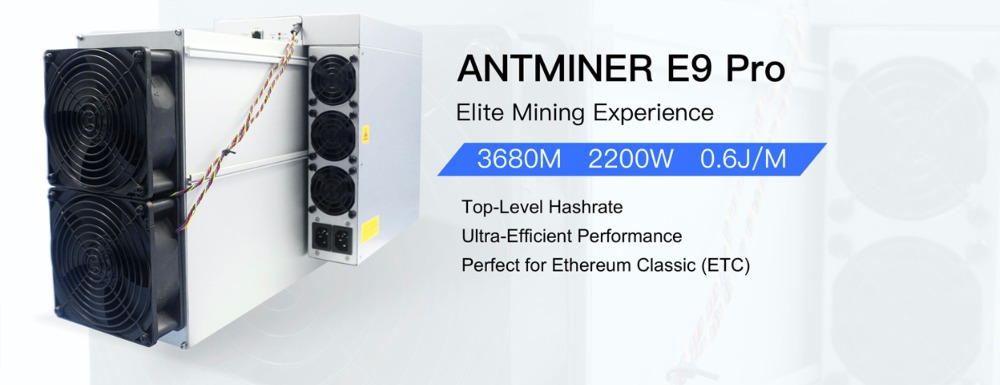
Before diving into part replacement, it’s essential to understand the design and functionality of the Antminer E9 Pro. This miner is engineered for professional-grade ETC mining, featuring a robust architecture with 7GB of memory and an optimized EtHash algorithm. Its power efficiency ratio of 0.6 ± 10% and 2200W power consumption make it one of the most competitive miners in the market.
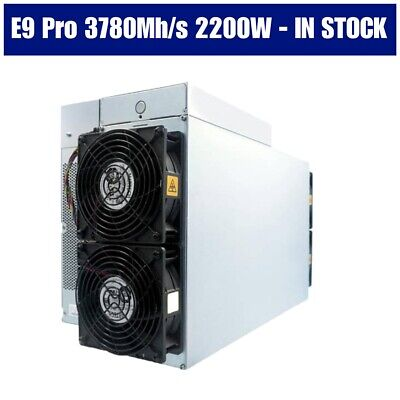
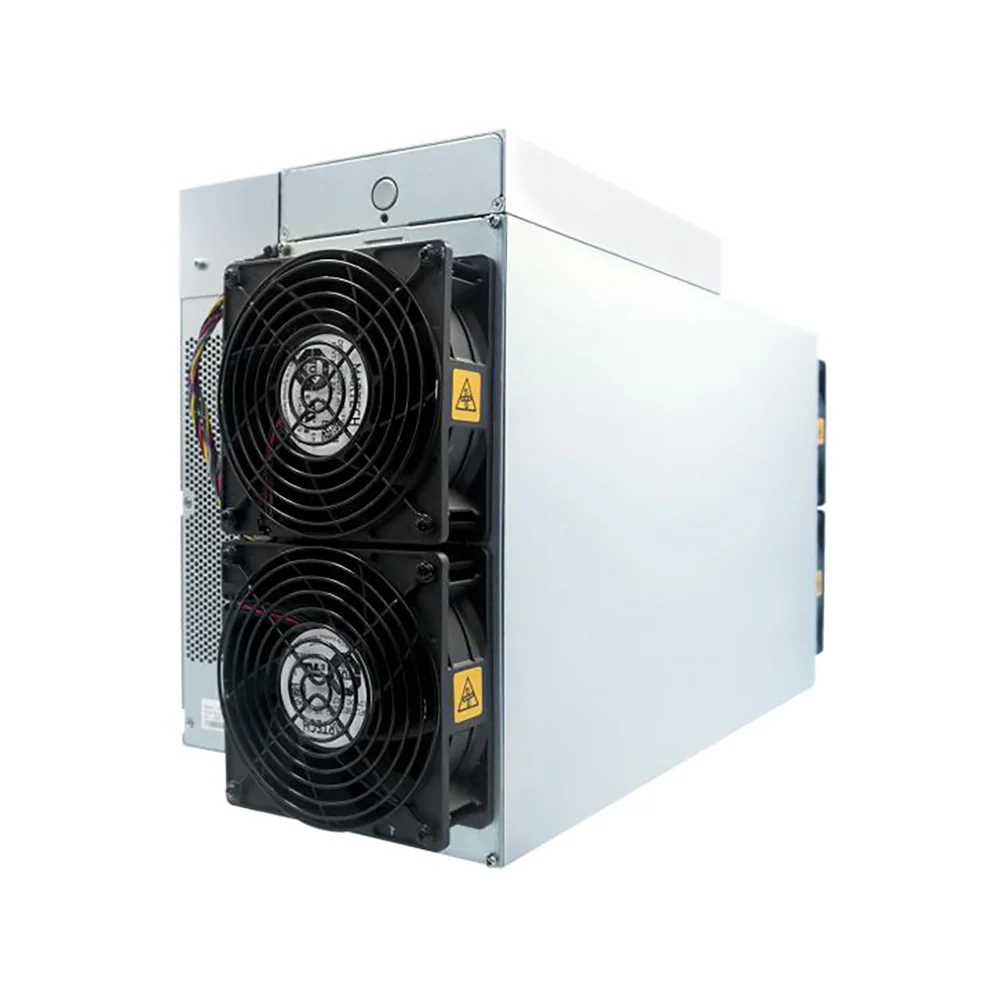
The E9 Pro’s thermal management system is another standout feature, incorporating four high-performance cooling fans to maintain optimal operating temperatures between 0°C and 40°C. Its modular design ensures that components are easily accessible, simplifying maintenance and part replacement.
Why Part Replacement is Crucial for Mining Efficiency
Mining hardware operates under intense conditions, often running 24/7 at high temperatures. Over time, components such as fans, power supplies, and hashboards can wear out or fail, leading to reduced performance or downtime. Regular maintenance and timely part replacement are critical to:
- Maximize mining efficiency and profitability
- Extend the lifespan of your equipment
- Prevent costly downtime and repairs
The Antminer E9 Pro’s modular design makes it particularly well-suited for part replacement, ensuring that you can quickly address issues without disrupting your mining operation.
Key Components to Monitor and Replace
Here are the primary components in the Antminer E9 Pro that may require replacement over time:
- Cooling Fans
The E9 Pro features four high-performance fans that play a crucial role in maintaining optimal operating temperatures. Fan failure can lead to overheating, which can damage other components.
- Power Supply Unit (PSU)
The PSU is responsible for delivering stable power to the miner. A failing PSU can cause inconsistent performance or complete shutdowns.
- Hashboards
Hashboards are the core of the mining operation, responsible for performing the complex calculations required for mining. Damaged or malfunctioning hashboards can significantly reduce your hashrate.
- Control Board
The control board acts as the brain of the miner, coordinating the operation of all components. Issues with the control board can lead to communication errors or system failures.
Step-by-Step Guide to Replacing Parts in the Antminer E9 Pro
1. Replacing Cooling Fans
Tools Needed: Screwdriver, replacement fans
Steps:
- Power off the miner and disconnect it from the power source.
- Remove the side panels to access the internal components.
- Locate the faulty fan and disconnect its power cable.
- Unscrew the fan from its mounting bracket and remove it.
- Install the new fan by securing it with screws and reconnecting the power cable.
- Reassemble the miner and power it on to test the new fan.
Pro Tip: Always replace fans in pairs to ensure balanced airflow and prevent uneven wear.
2. Replacing the Power Supply Unit (PSU)
Tools Needed: Screwdriver, replacement PSU
Steps:
- Power off the miner and disconnect it from the power source.
- Remove the top cover to access the PSU.
- Disconnect all power cables connected to the PSU.
- Unscrew the PSU from its mounting bracket and remove it.
- Install the new PSU by securing it with screws and reconnecting the power cables.
- Reassemble the miner and power it on to test the new PSU.
Pro Tip: Ensure the replacement PSU matches the specifications of the original unit to avoid compatibility issues.
3. Replacing Hashboards
Tools Needed: Screwdriver, replacement hashboard
Steps:
- Power off the miner and disconnect it from the power source.
- Remove the side panels to access the hashboards.
- Disconnect the data and power cables from the faulty hashboard.
- Unscrew the hashboard from its mounting bracket and remove it.
- Install the new hashboard by securing it with screws and reconnecting the data and power cables.
- Reassemble the miner and power it on to test the new hashboard.
Pro Tip: Handle hashboards with care to avoid damaging the delicate components.
4. Replacing the Control Board
Tools Needed: Screwdriver, replacement control board
Steps:
- Power off the miner and disconnect it from the power source.
- Remove the top cover to access the control board.
- Disconnect all cables connected to the control board.
- Unscrew the control board from its mounting bracket and remove it.
- Install the new control board by securing it with screws and reconnecting all cables.
- Reassemble the miner and power it on to test the new control board.
Pro Tip: Double-check all connections to ensure proper communication between components.
Best Practices for Part Replacement and Maintenance
- Regular Inspections: Periodically inspect your miner for signs of wear or damage, such as unusual noises, reduced performance, or overheating.
- Use Genuine Parts: Always use genuine or high-quality replacement parts to ensure compatibility and reliability.
- Keep Spare Parts on Hand: Maintain an inventory of critical spare parts to minimize downtime in case of component failure.
- Follow Safety Protocols: Always power off and disconnect the miner before performing any maintenance or part replacement.
- Document Maintenance Activities: Keep a log of all maintenance and part replacements to track the health of your equipment.
Conclusion: Ensuring Long-Term Success with the Antminer E9 Pro
The Antminer E9 Pro 3.68Gh/s is a powerful and efficient mining solution, but its performance depends on proper maintenance and timely part replacement. By understanding the key components and following the step-by-step guide provided in this article, you can ensure that your miner remains in peak condition, maximizing your mining efficiency and profitability.
With its modular design and superior serviceability, the E9 Pro is an excellent choice for miners who value durability and ease of maintenance. By investing in regular upkeep and using high-quality replacement parts, you can extend the lifespan of your equipment and protect your investment in the competitive world of cryptocurrency mining.
Whether you’re a seasoned mining operator or a serious enthusiast, mastering the art of part replacement in the Antminer E9 Pro will help you stay ahead in the ever-evolving landscape of cryptocurrency mining.