How to Set Up Avalon Nano 3 for Home Bitcoin Mining?
The world of cryptocurrency mining has evolved significantly over the years, and the Avalon Nano 3 is a testament to this progress. Designed by Canaan Inc., a NASDAQ-listed leader in blockchain technology, the Avalon Nano 3 brings professional-grade Bitcoin mining capabilities into the comfort of your home. Whether you’re a seasoned miner or a beginner looking to dip your toes into the world of cryptocurrency, this compact yet powerful device offers an accessible and efficient way to mine Bitcoin. In this guide, we’ll walk you through the setup process, explore its unique features, and explain how it can enhance your home mining operations.
Product Introduction: What is the Avalon Nano 3?
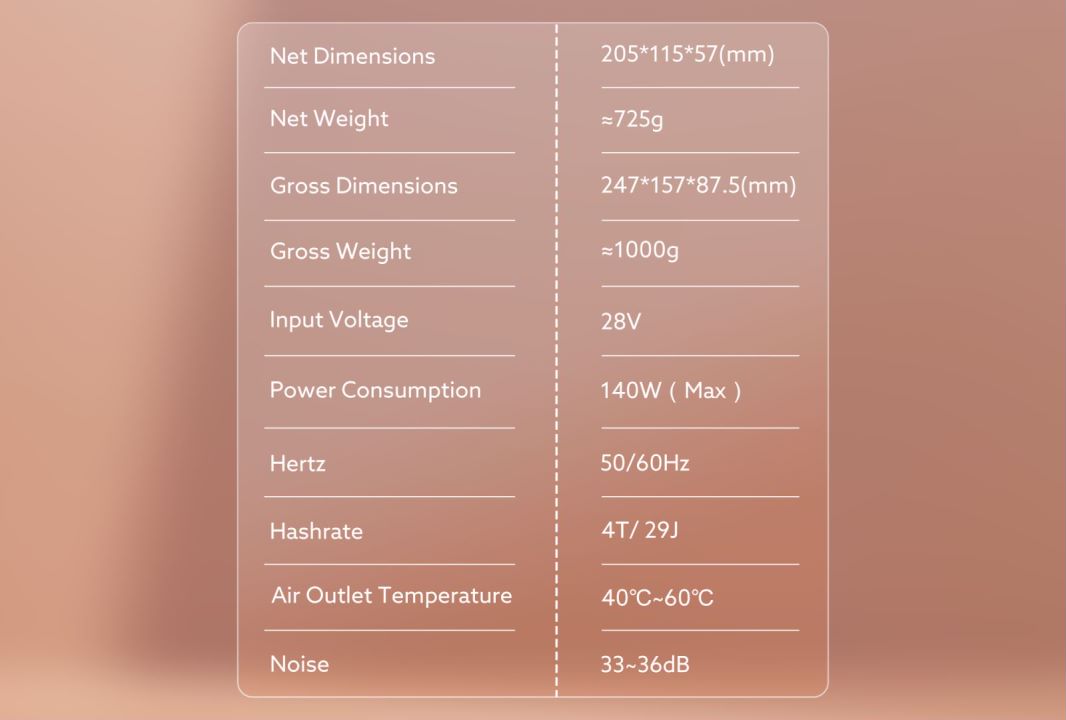
The Avalon Nano 3 is a compact Bitcoin mining device that combines high-performance computing with a user-friendly design. It’s engineered to deliver a 4TH/s hashrate while maintaining exceptional energy efficiency at 29J/TH. This makes it one of the most efficient personal mining devices on the market, capable of competing with larger, industrial-grade miners.
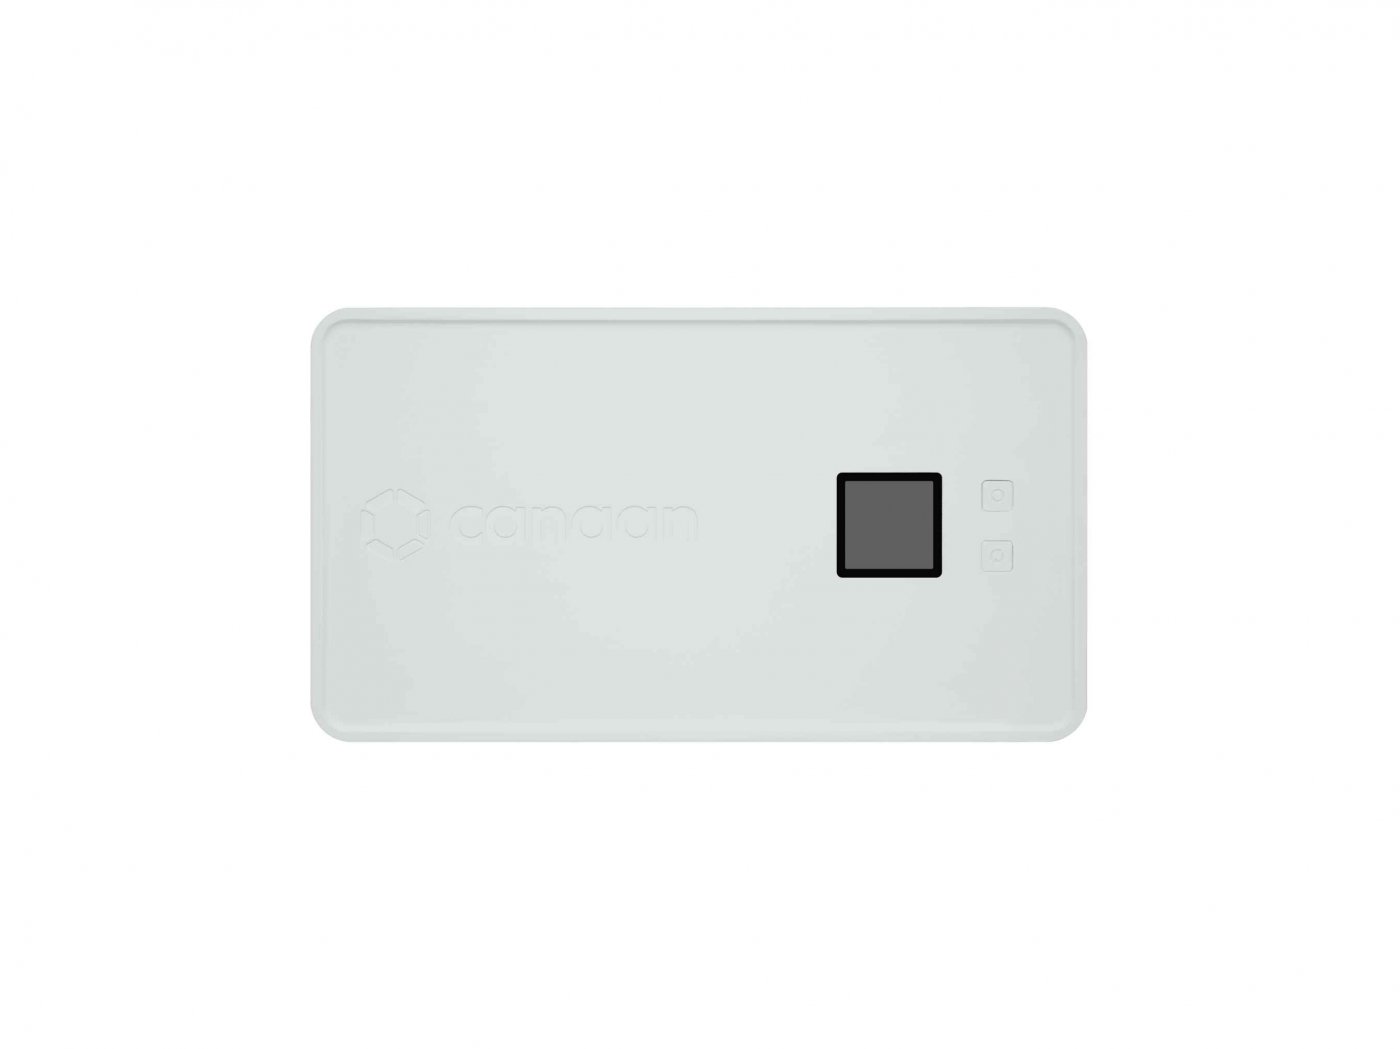
What sets the Avalon Nano 3 apart is its home-friendly design. It’s small enough to fit on your desk (measuring just 205mm x 115mm x 57mm) and lightweight at approximately 725g. Despite its compact size, it doesn’t compromise on performance. The device features an advanced thermal management system that keeps operating temperatures between 40°C and 60°C, ensuring consistent performance without overheating. Additionally, it operates at a whisper-quiet 33-36dB, making it ideal for home or office environments.
One of the most innovative aspects of the Avalon Nano 3 is its adaptive power architecture. It offers three power modes—140W, 100W, and 65W—allowing you to optimize energy consumption based on your electricity costs and environmental conditions. This flexibility, combined with its dual-frequency support (50/60Hz), makes it a versatile choice for miners worldwide.
Why Choose the Avalon Nano 3 for Home Mining?
Before diving into the setup process, let’s explore why the Avalon Nano 3 is an excellent choice for home Bitcoin mining:
- Professional Heritage: Developed by Canaan Inc., the Avalon Nano 3 carries the legacy of the renowned Avalon product line, ensuring reliability and performance.
- Energy Efficiency: With a power efficiency of 29J/TH, it minimizes electricity costs, making it cost-effective for long-term mining.
- Quiet Operation: Its low noise levels make it suitable for home use, unlike traditional miners that can be loud and disruptive.
- Compact and Portable: Its small size and lightweight design allow for easy placement and mobility.
- Dual-Purpose Functionality: Beyond mining, it can function as a space heater, providing practical utility during colder months.
Step-by-Step Guide to Setting Up the Avalon Nano 3
Setting up the Avalon Nano 3 is straightforward, even for beginners. Follow these steps to get started:
1. Unbox and Inspect the Device
When you receive your Avalon Nano 3, carefully unbox it and ensure all components are included:
- The Avalon Nano 3 miner
- Power supply unit (PSU)
- Ethernet cable
- User manual
Inspect the device for any physical damage during shipping. If everything looks good, proceed to the next step.
2. Connect the Power Supply
The Avalon Nano 3 requires a compatible PSU to operate. Connect the PSU to the miner using the provided cables. Ensure the power input matches your local voltage (110V or 220V). The device supports dual-frequency operation (50/60Hz), so it’s compatible with power systems worldwide.
3. Connect to the Internet
Use the included Ethernet cable to connect the Avalon Nano 3 to your router or modem. A stable internet connection is crucial for efficient mining operations. While the device doesn’t support Wi-Fi, you can use a Wi-Fi extender with an Ethernet port if running a cable isn’t feasible.
4. Configure the Miner
Once connected, you’ll need to configure the miner. Here’s how:
- Open a web browser on your computer and enter the miner’s IP address (found in the user manual or via your router’s connected devices list).
- Log in using the default credentials (usually “admin” for both username and password).
- Navigate to the settings menu to configure your mining pool details. You’ll need to enter the pool’s URL, your worker name, and password.
5. Choose a Mining Pool
Mining pools allow you to combine your hashing power with other miners to increase your chances of earning Bitcoin. Popular pools include Slush Pool, F2Pool, and Antpool. Research and choose a pool that suits your needs, then enter the required details in the miner’s configuration interface.
6. Optimize Power Settings
The Avalon Nano 3 offers three power modes: 140W, 100W, and 65W. Choose the mode that best aligns with your energy costs and environmental conditions. For example, if electricity is expensive in your area, the 65W mode can help reduce costs while still generating Bitcoin.
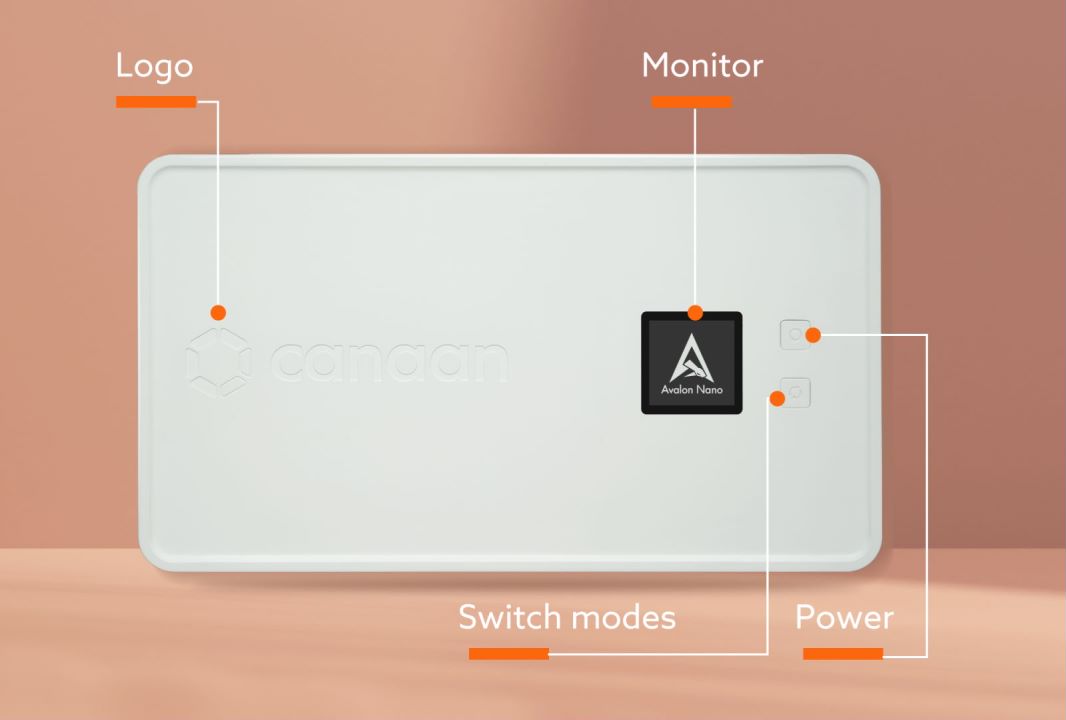
7. Monitor and Maintain
Once configured, the Avalon Nano 3 will start mining automatically. Use the device’s web interface to monitor its performance, including hashrate, temperature, and power consumption. Regularly clean the air vents to prevent dust buildup and ensure optimal airflow.
Product Advantages: Why the Avalon Nano 3 Stands Out
The Avalon Nano 3 isn’t just another mining device—it’s a game-changer for home miners. Here’s why:
- Adaptive Power Architecture: The three power modes allow you to balance performance and energy consumption, making it cost-effective and environmentally friendly.
- Thermal Intelligence: The advanced cooling system ensures consistent performance without overheating, even during extended mining sessions.
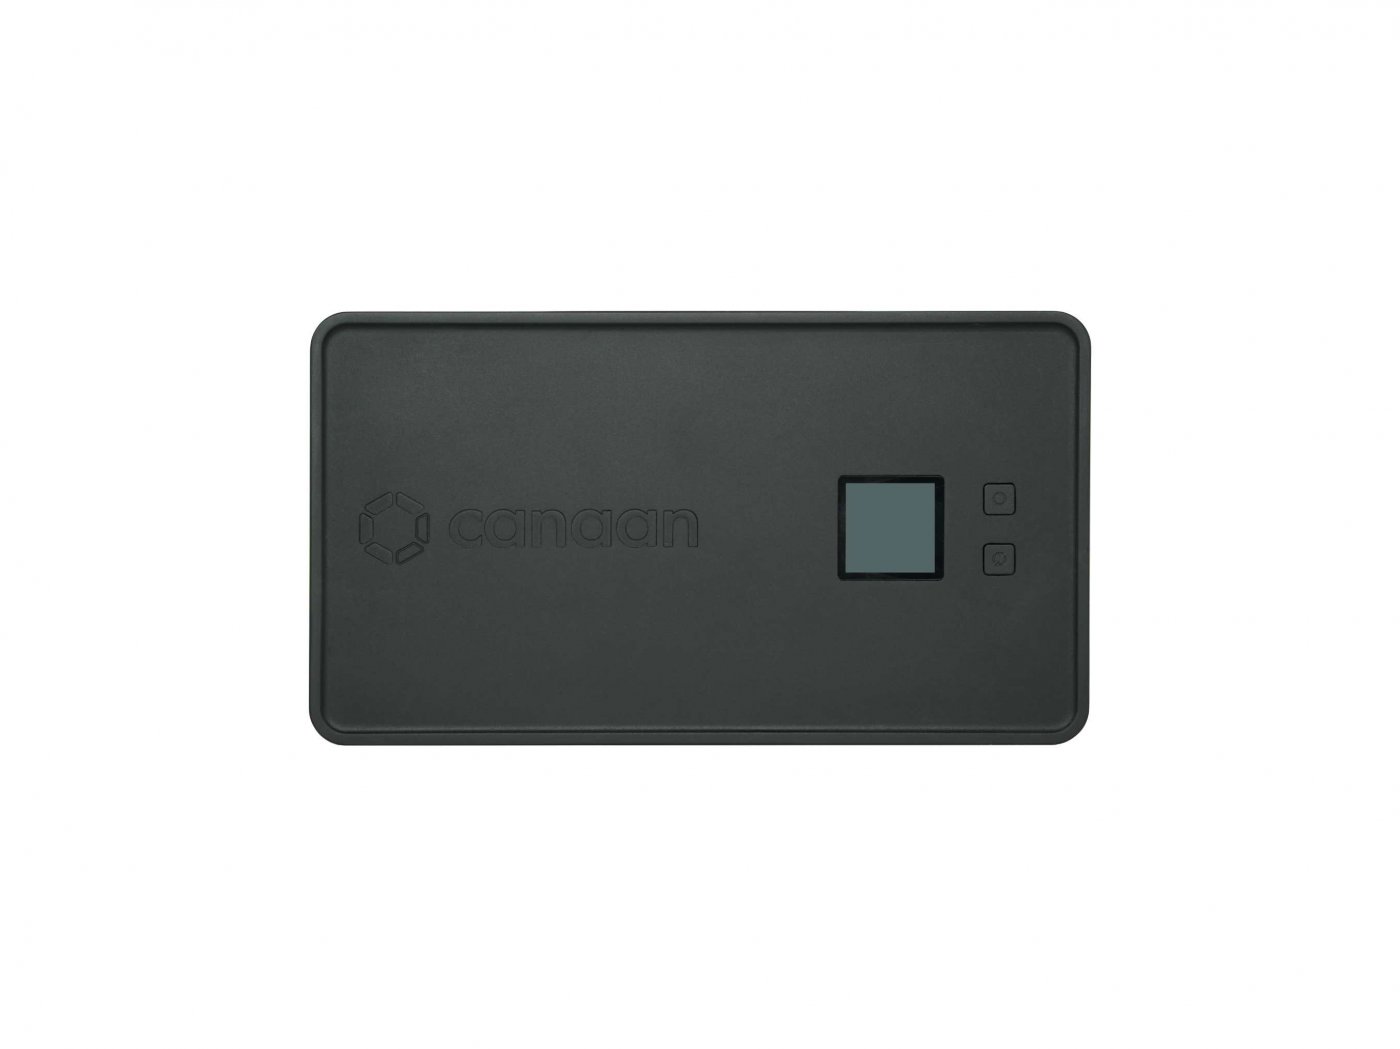
- Aesthetic Versatility: Available in five stylish colors, it blends seamlessly into any home or office environment.
- Portable Professionalism: Its compact size and lightweight design make it easy to move and deploy anywhere.
- Dual-Purpose Functionality: It doubles as a space heater, providing practical utility while generating Bitcoin.
Practical Tips for Home Mining with the Avalon Nano 3
To maximize your mining experience, consider these tips:
- Monitor Electricity Costs: Mining profitability depends on electricity rates. Use the 65W mode if energy costs are high.
- Join a Reliable Pool: Research and choose a mining pool with low fees and a good reputation.
- Ensure Proper Ventilation: Place the miner in a well-ventilated area to prevent overheating.
- Stay Updated: Keep an eye on Bitcoin’s price and network difficulty, as these factors impact mining profitability.
Conclusion
The Avalon Nano 3 is a revolutionary device that brings professional-grade Bitcoin mining into your home. Its compact design, energy efficiency, and quiet operation make it an ideal choice for both beginners and experienced miners. By following this guide, you can set up your Avalon Nano 3 and start mining Bitcoin with ease. Whether you’re looking to generate passive income or simply explore the world of cryptocurrency, the Avalon Nano 3 offers a practical and efficient solution. Happy mining!