# How to Set Up the DragonBall Miner KS6 Kaspa Miner: A Comprehensive Guide
As an experienced cryptocurrency enthusiast and Kaspa mining expert, I’m excited to share my insights on the remarkable DragonBall Miner KS6, a state-of-the-art solution designed to revolutionize the world of Kaspa mining. In this comprehensive guide, I’ll walk you through the process of setting up and optimizing the KS6 to unlock its full potential and maximize your mining efficiency.
## Introducing the DragonBall Miner KS6
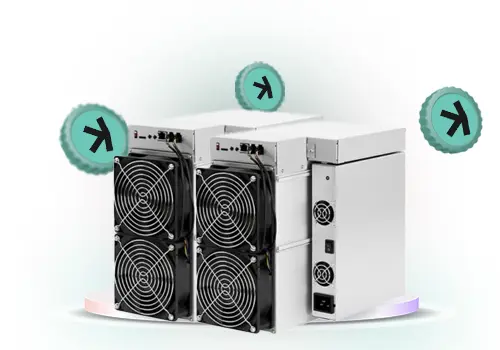
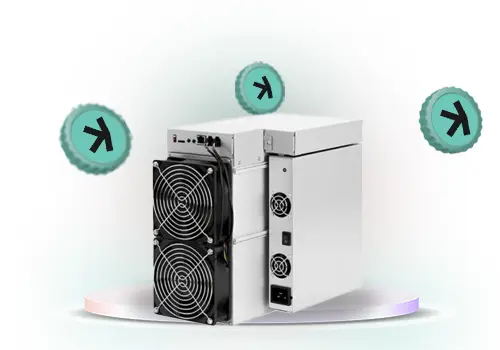
The DragonBall Miner KS6 represents a significant leap forward in Kaspa mining technology. Engineered with uncompromising attention to detail, this professional-grade mining solution combines robust hardware architecture with sophisticated thermal management to deliver industry-leading hash rates.
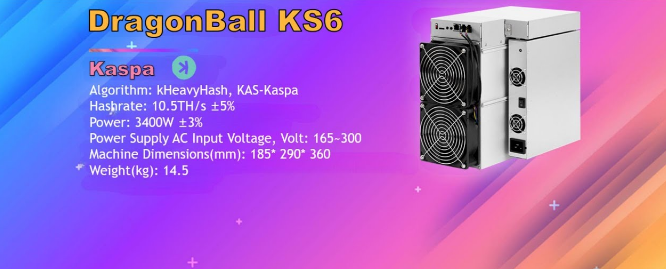
With a maximum hash rate of 10.5 Th/s and an exceptional energy efficiency ratio of 323.81 j/Th, the KS6 positions itself as a formidable contender in the Kaspa mining landscape. Its impressive performance is complemented by a robust thermal architecture, featuring a quad-fan cooling system that maintains optimal operating temperatures while keeping noise levels within acceptable ranges.
## Unpacking the KS6: A Closer Look
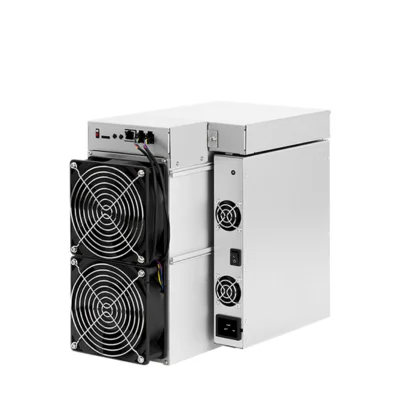
Upon receiving your KS6, you’ll be greeted by a compact and durable unit, measuring 360 x 185 x 290mm and weighing a mere 14.5kg. This compact form factor combines efficient space utilization with a robust construction, ensuring the KS6 can withstand the demands of continuous mining operations.
One of the standout features of the KS6 is its versatile power management system. Equipped with a sophisticated 3400W power infrastructure, the unit supports a wide-range power input capability of 165-300V. This flexibility ensures seamless integration with diverse power configurations, allowing you to deploy the KS6 in a wide range of environments.
## Preparing for Setup
Before we dive into the setup process, let’s ensure you have all the necessary components and accessories:
1. DragonBall Miner KS6 unit
2. Power cable(s) compatible with your local power supply
3. Ethernet cable for network connectivity
4. A compatible mining software or pool client
5. A Kaspa wallet to receive your mining rewards
With these items in hand, you’re ready to embark on the setup journey.
## Step 1: Selecting a Deployment Location
When choosing a location for your KS6, consider the following factors:
1. **Ambient Temperature**: The KS6 is designed to operate optimally within a temperature range of 0-40°C, with a humidity tolerance between 10-90%. Ensure the selected area provides a suitable climate.
2. **Ventilation and Airflow**: Adequate airflow is crucial for the efficient operation of the quad-fan cooling system. Avoid cramped or confined spaces that may restrict airflow.
3. **Noise Considerations**: While the KS6 operates at a measured 75dB, you may want to consider the noise tolerance of your immediate environment, especially if the miner will be located in a shared or residential space.
4. **Power Accessibility**: Ensure a reliable power source is available, with the necessary power outlets to accommodate the KS6’s 3400W power requirements.
Once you’ve identified the optimal deployment location, you’re ready to proceed with the physical setup.
## Step 2: Powering On the KS6
1. Connect the power cable(s) to the KS6’s power input port, ensuring a secure connection.
2. Plug the power cable(s) into your power source, making sure the voltage and frequency match the KS6’s specifications.
3. Press the power button to turn on the KS6. Observe the LED indicators to confirm the unit is powering on correctly.
## Step 3: Establishing Network Connectivity
1. Connect an Ethernet cable to the RJ45 Ethernet port on the KS6.
2. Plug the other end of the Ethernet cable into your local network router or switch.
3. Ensure your network is configured to provide the KS6 with a valid IP address, either through DHCP or static IP assignment.
## Step 4: Configuring Mining Software
1. Install the compatible mining software or pool client on a dedicated computer or mining rig.
2. Configure the mining software to connect to the KS6 using the assigned IP address and appropriate mining pool credentials.
3. Adjust any additional settings, such as mining parameters or worker names, according to your preferences and the pool’s requirements.
## Step 5: Monitoring and Optimization
1. Monitor the KS6’s performance, including hash rate, power consumption, and temperature, using the mining software or pool dashboard.
2. Ensure the quad-fan cooling system is operating effectively and maintaining optimal temperatures.
3. Adjust any settings or environmental factors, if necessary, to optimize the KS6’s performance and energy efficiency.
4. Keep an eye on pool updates, miner firmware, and any announcements from DragonBall or the Kaspa network to stay informed of any changes that may impact your mining operations.
## Unlocking the Full Potential of the KS6
The DragonBall Miner KS6 is more than just a powerful mining rig; it’s a testament to the engineering prowess and commitment to innovation that defines the DragonBall brand. With its industry-leading hash rate, exceptional energy efficiency, and robust thermal management, the KS6 is poised to revolutionize your Kaspa mining endeavors.
By following the steps outlined in this comprehensive guide, you’ll be well on your way to unleashing the full potential of the KS6 and maximizing your returns in the Kaspa mining ecosystem. Remember, mining is a dynamic and ever-evolving landscape, so stay vigilant, continuously optimize your setup, and adapt to the changing market conditions.
I’m confident that the DragonBall Miner KS6 will be a valuable addition to your cryptocurrency mining arsenal, empowering you to achieve new heights of success in the world of Kaspa. Happy mining!
|
Please feel free to contact me to assist you in resolving your issues: E-mail: Minerfixessales@gmail.com WhatsApp/WeChat:+86 15928044684
The services we offer include:
a.New and Used Miners b.Miner Accessories c.Miner Repair Courses d.Global Repair Stations e.Overclocking and Underclocking Services |

|